GitHub
Get the tutorial project from GitHub - It contains all the assets necessary to achieve the final result!
One of the most commonly used elements in modern UI designs is the background blur. It is used in common applications, operating systems like Windows 10, iOS and Android, and in lots of modern games like Destiny and Tom Clancy’s The Division. There isn’t a shader shipping with Unity but creating one is really simple!
As with all projects on this website I prepared a simple template project for you to get you started and to provide some basic assets needed. I decided on a scene from Tom Clancy’s The Division for this tutorial, which will be part of the template project for an upcoming case study.
Template ProjectInside the “Scenes” folder you can find the “Testscene”. It contains a basic setup with some shapes, which are being rendered as a combination of triangles, lines and points. You can look at the assets and the C# code in the project necessary to achieve this, however this isn’t the focus of this tutorial and will be covered in another one.
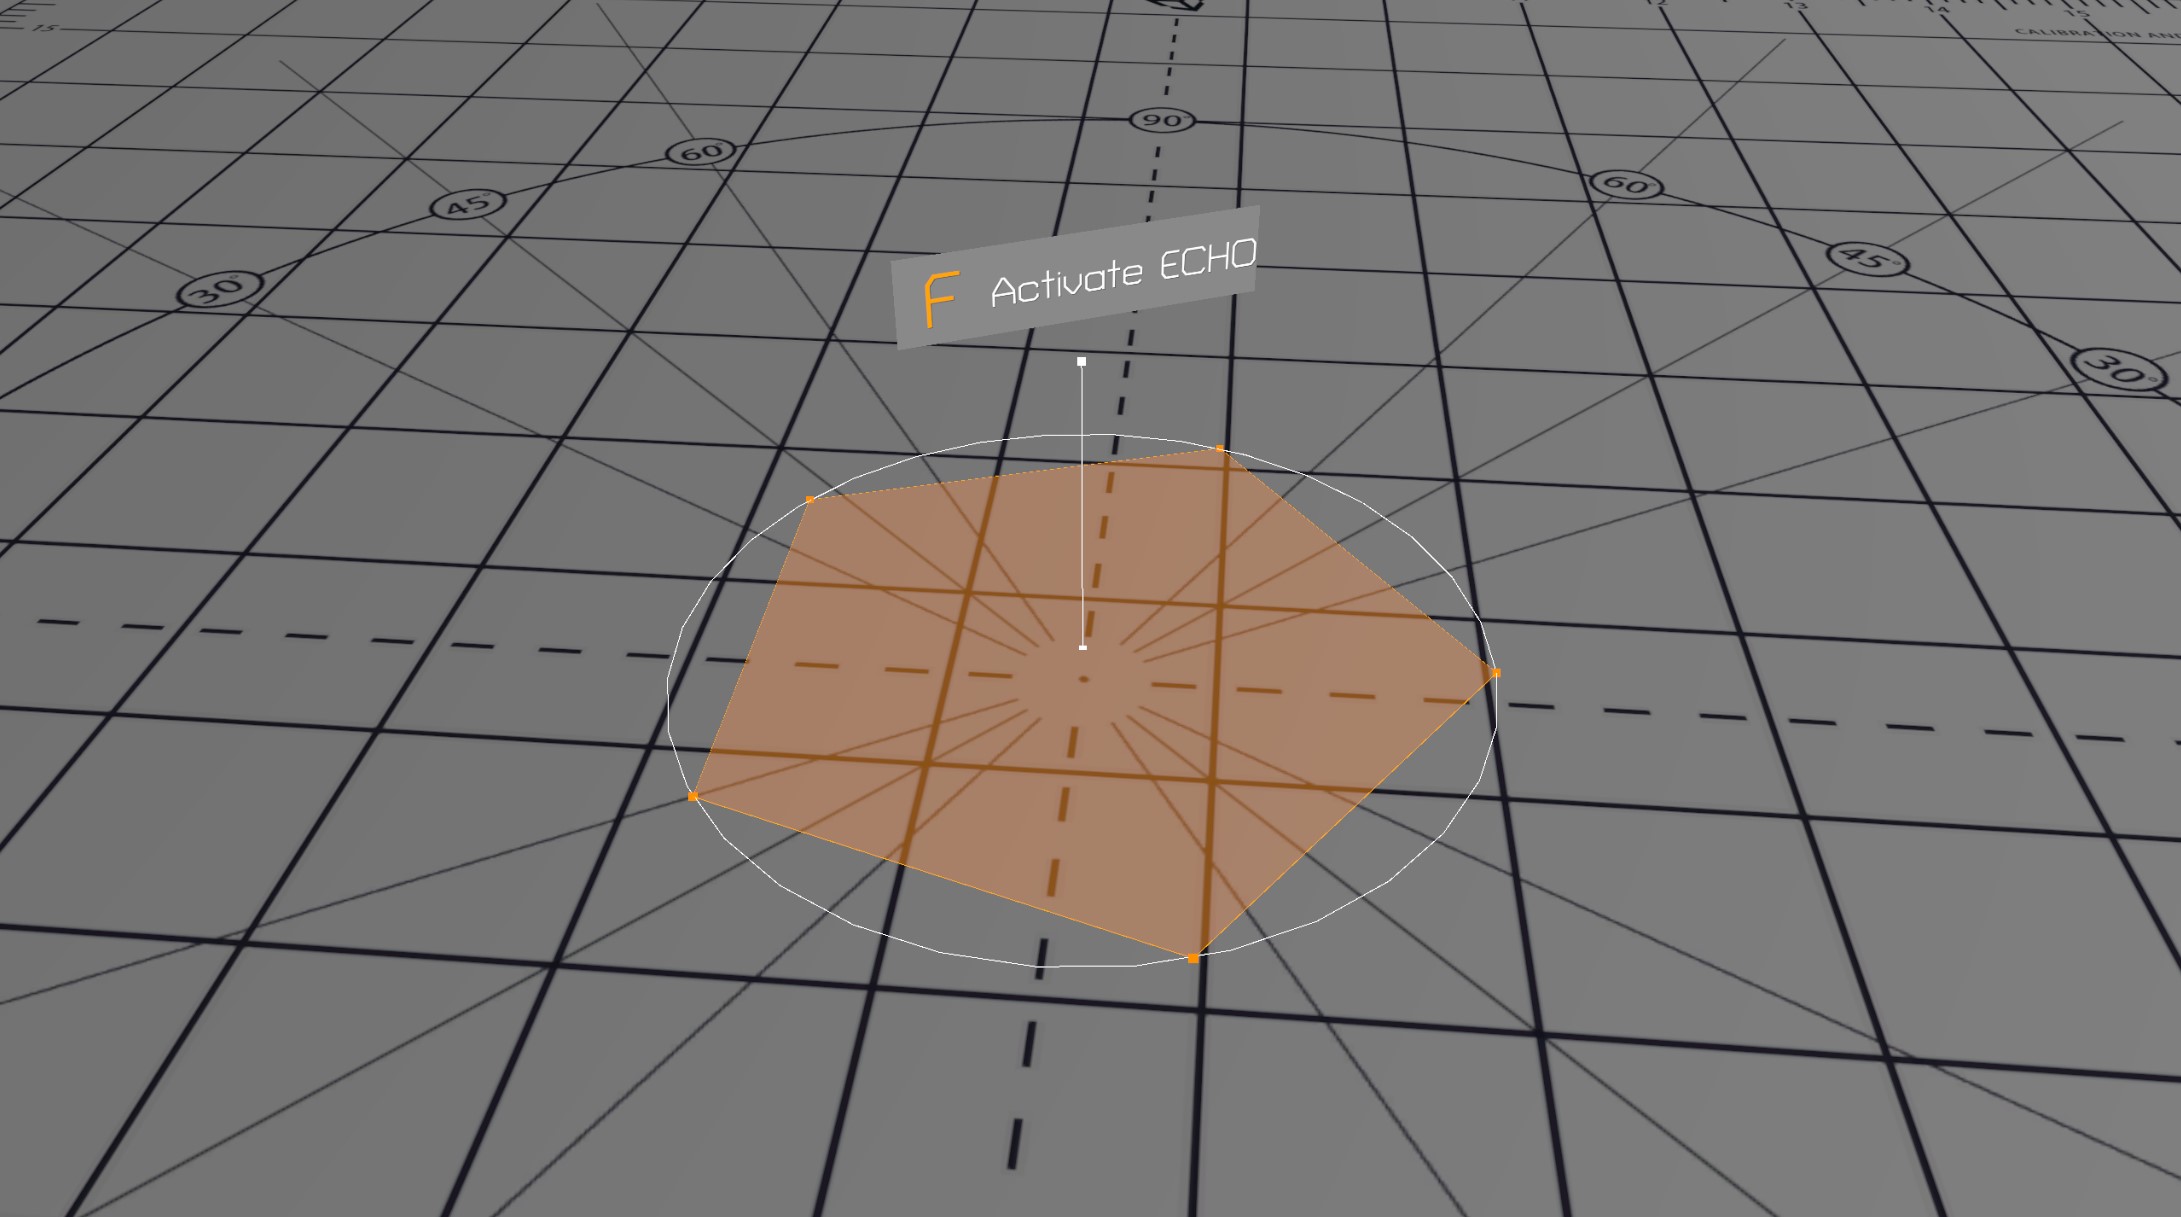
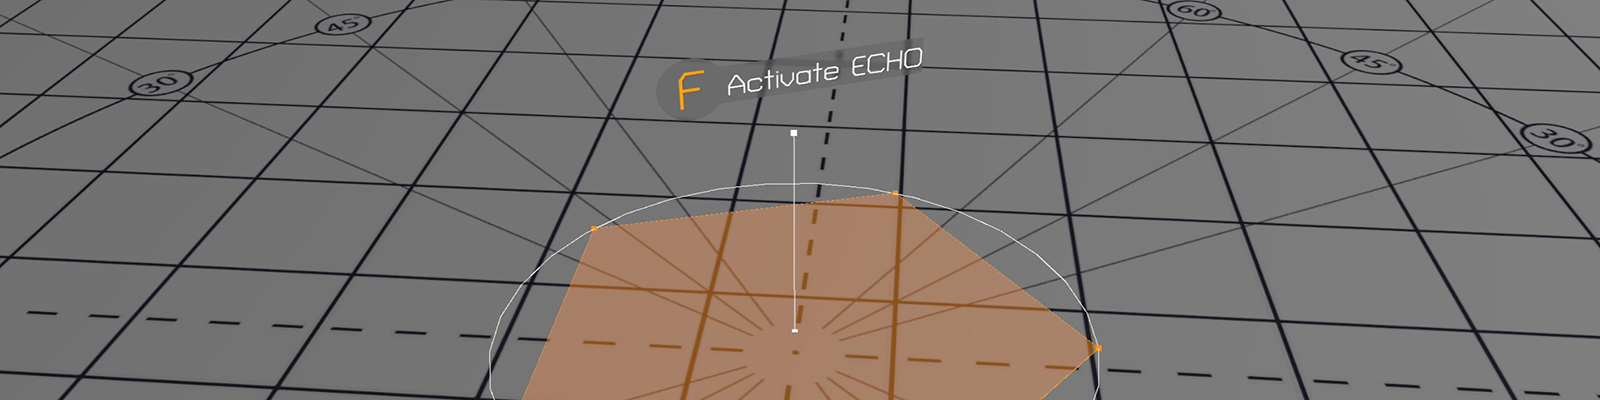
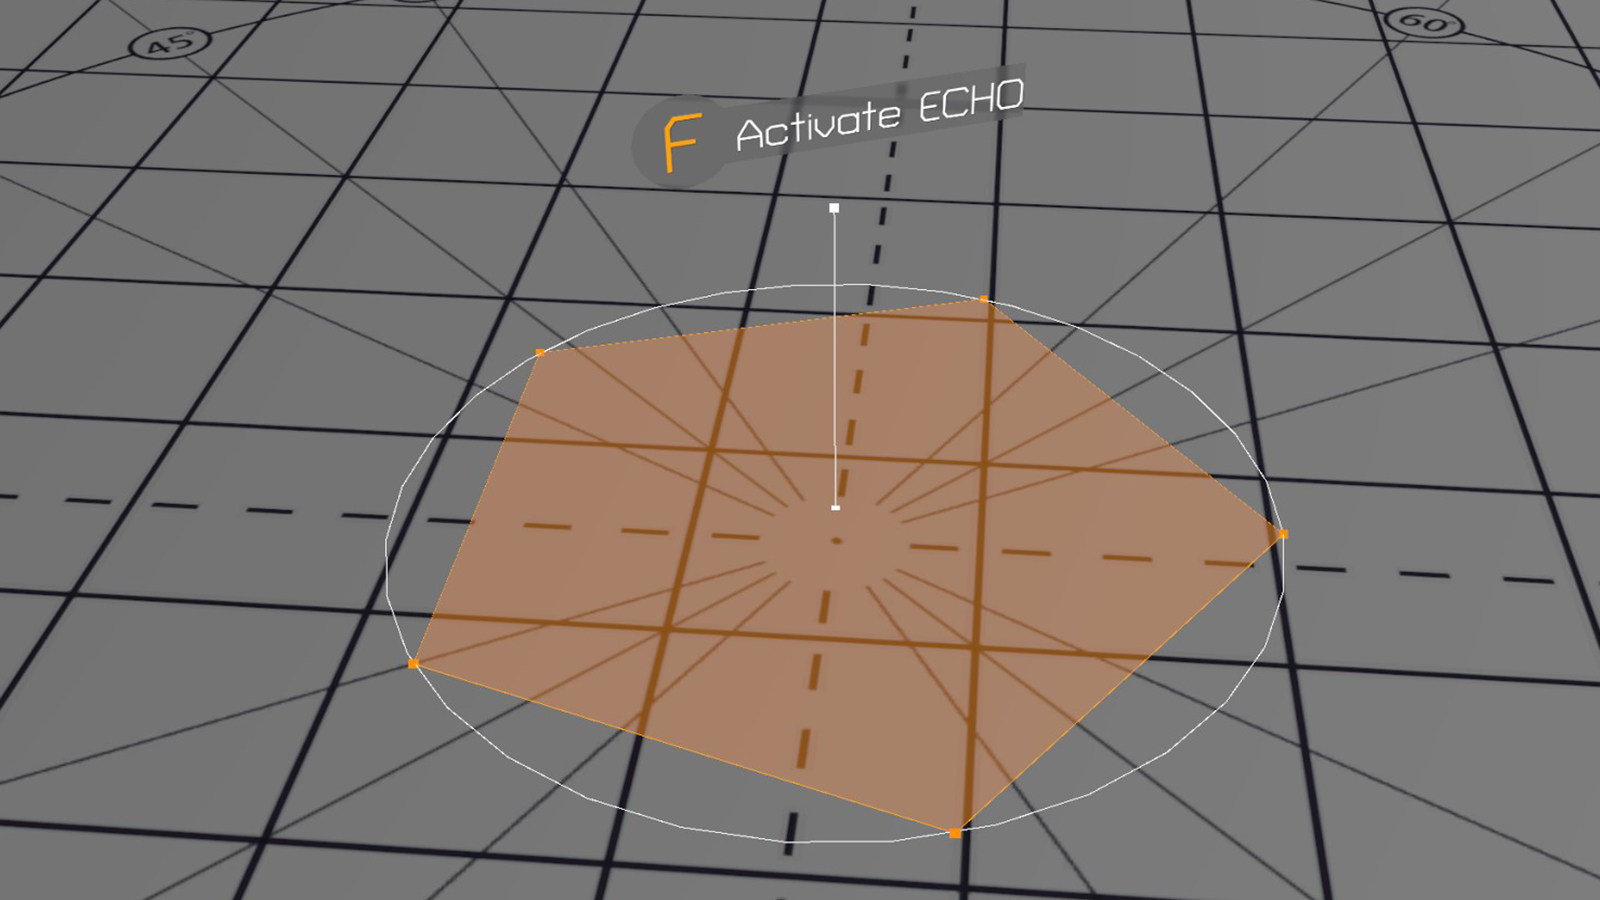
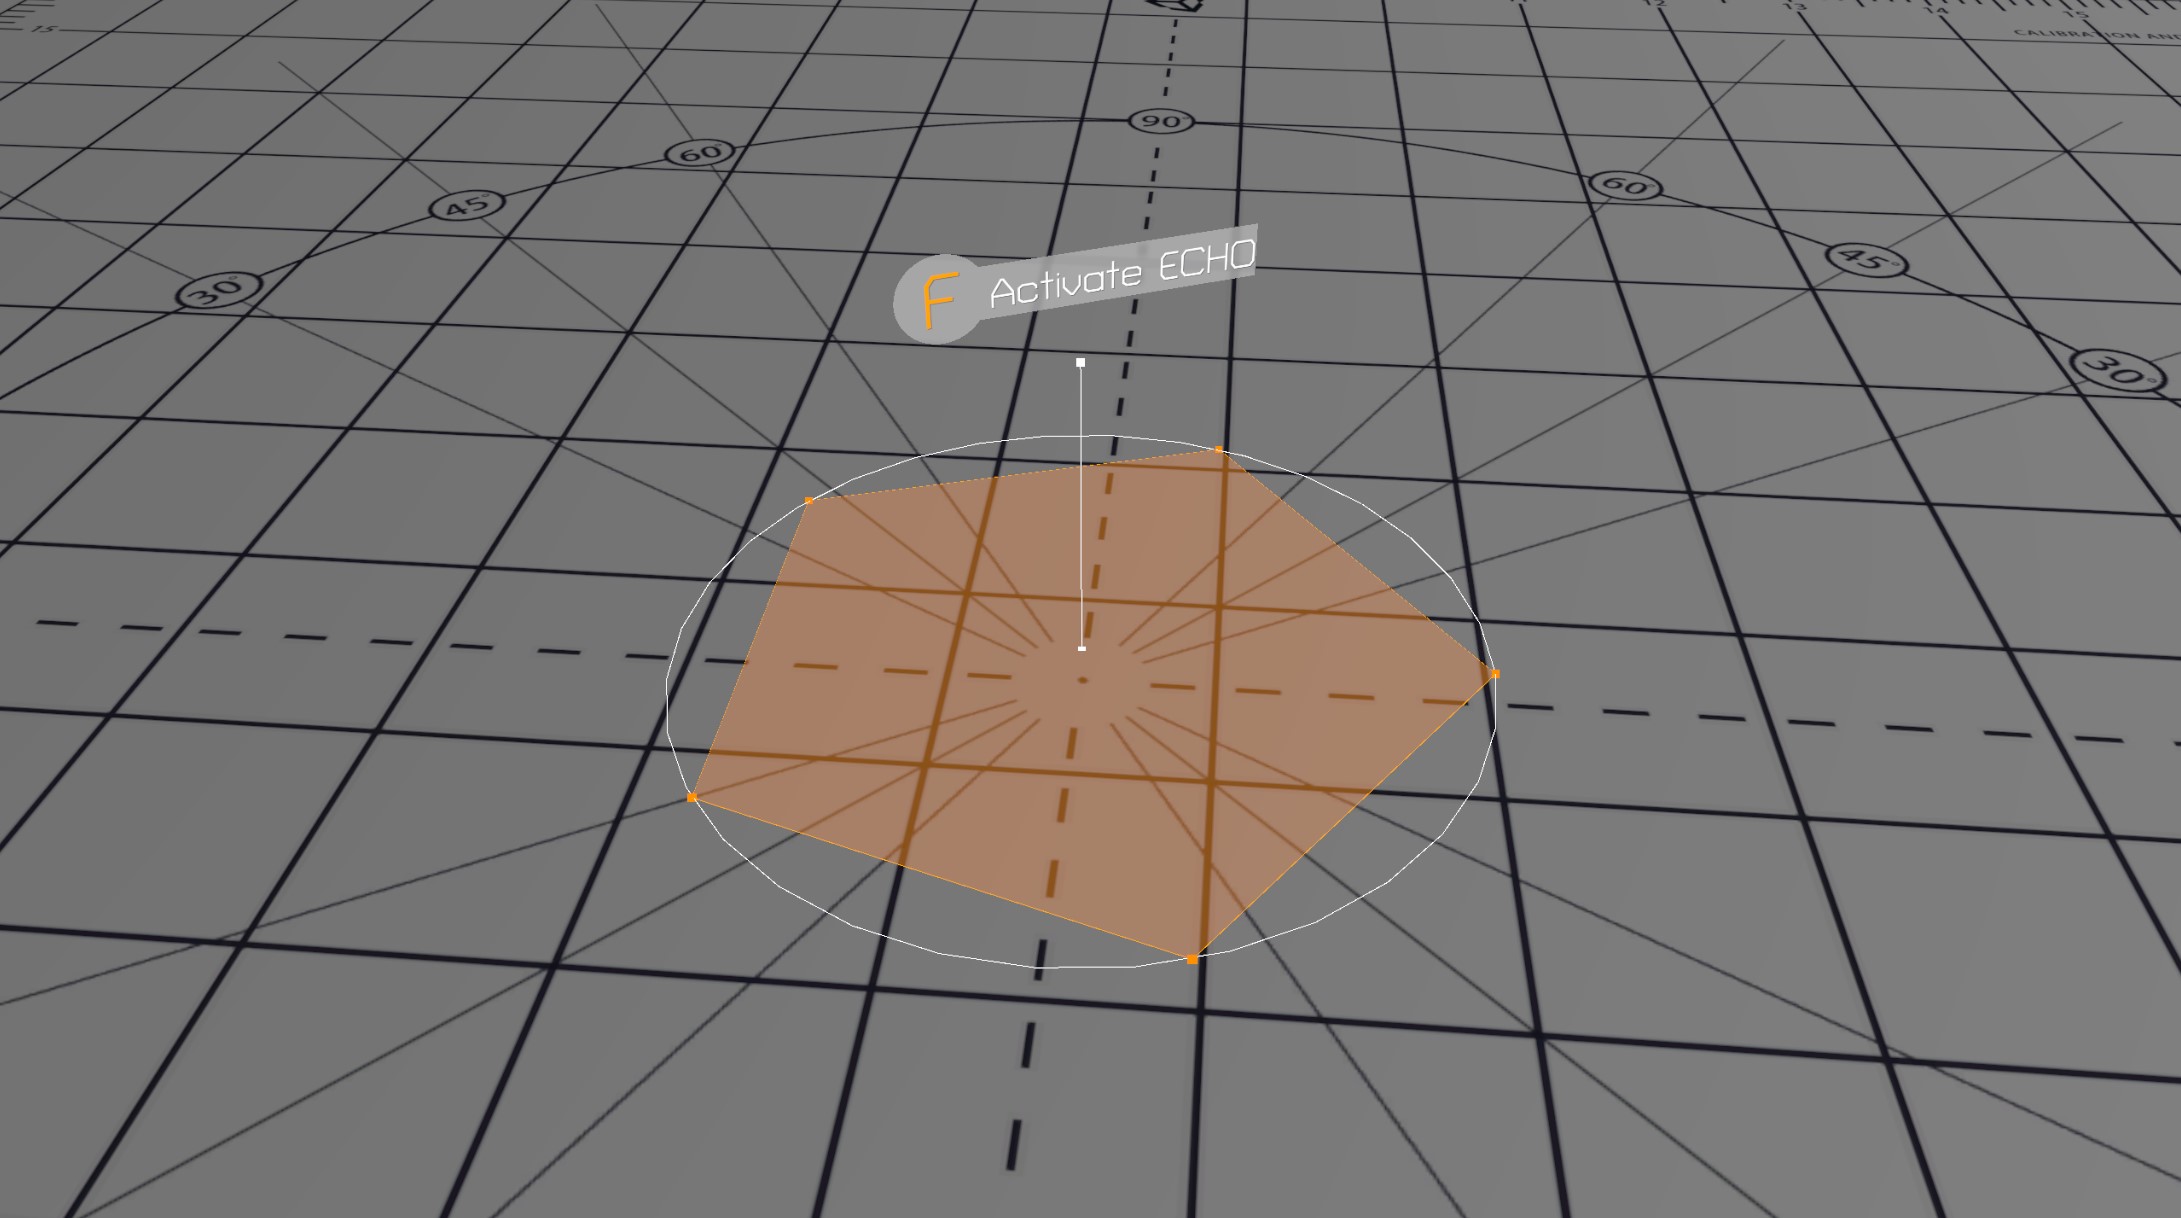
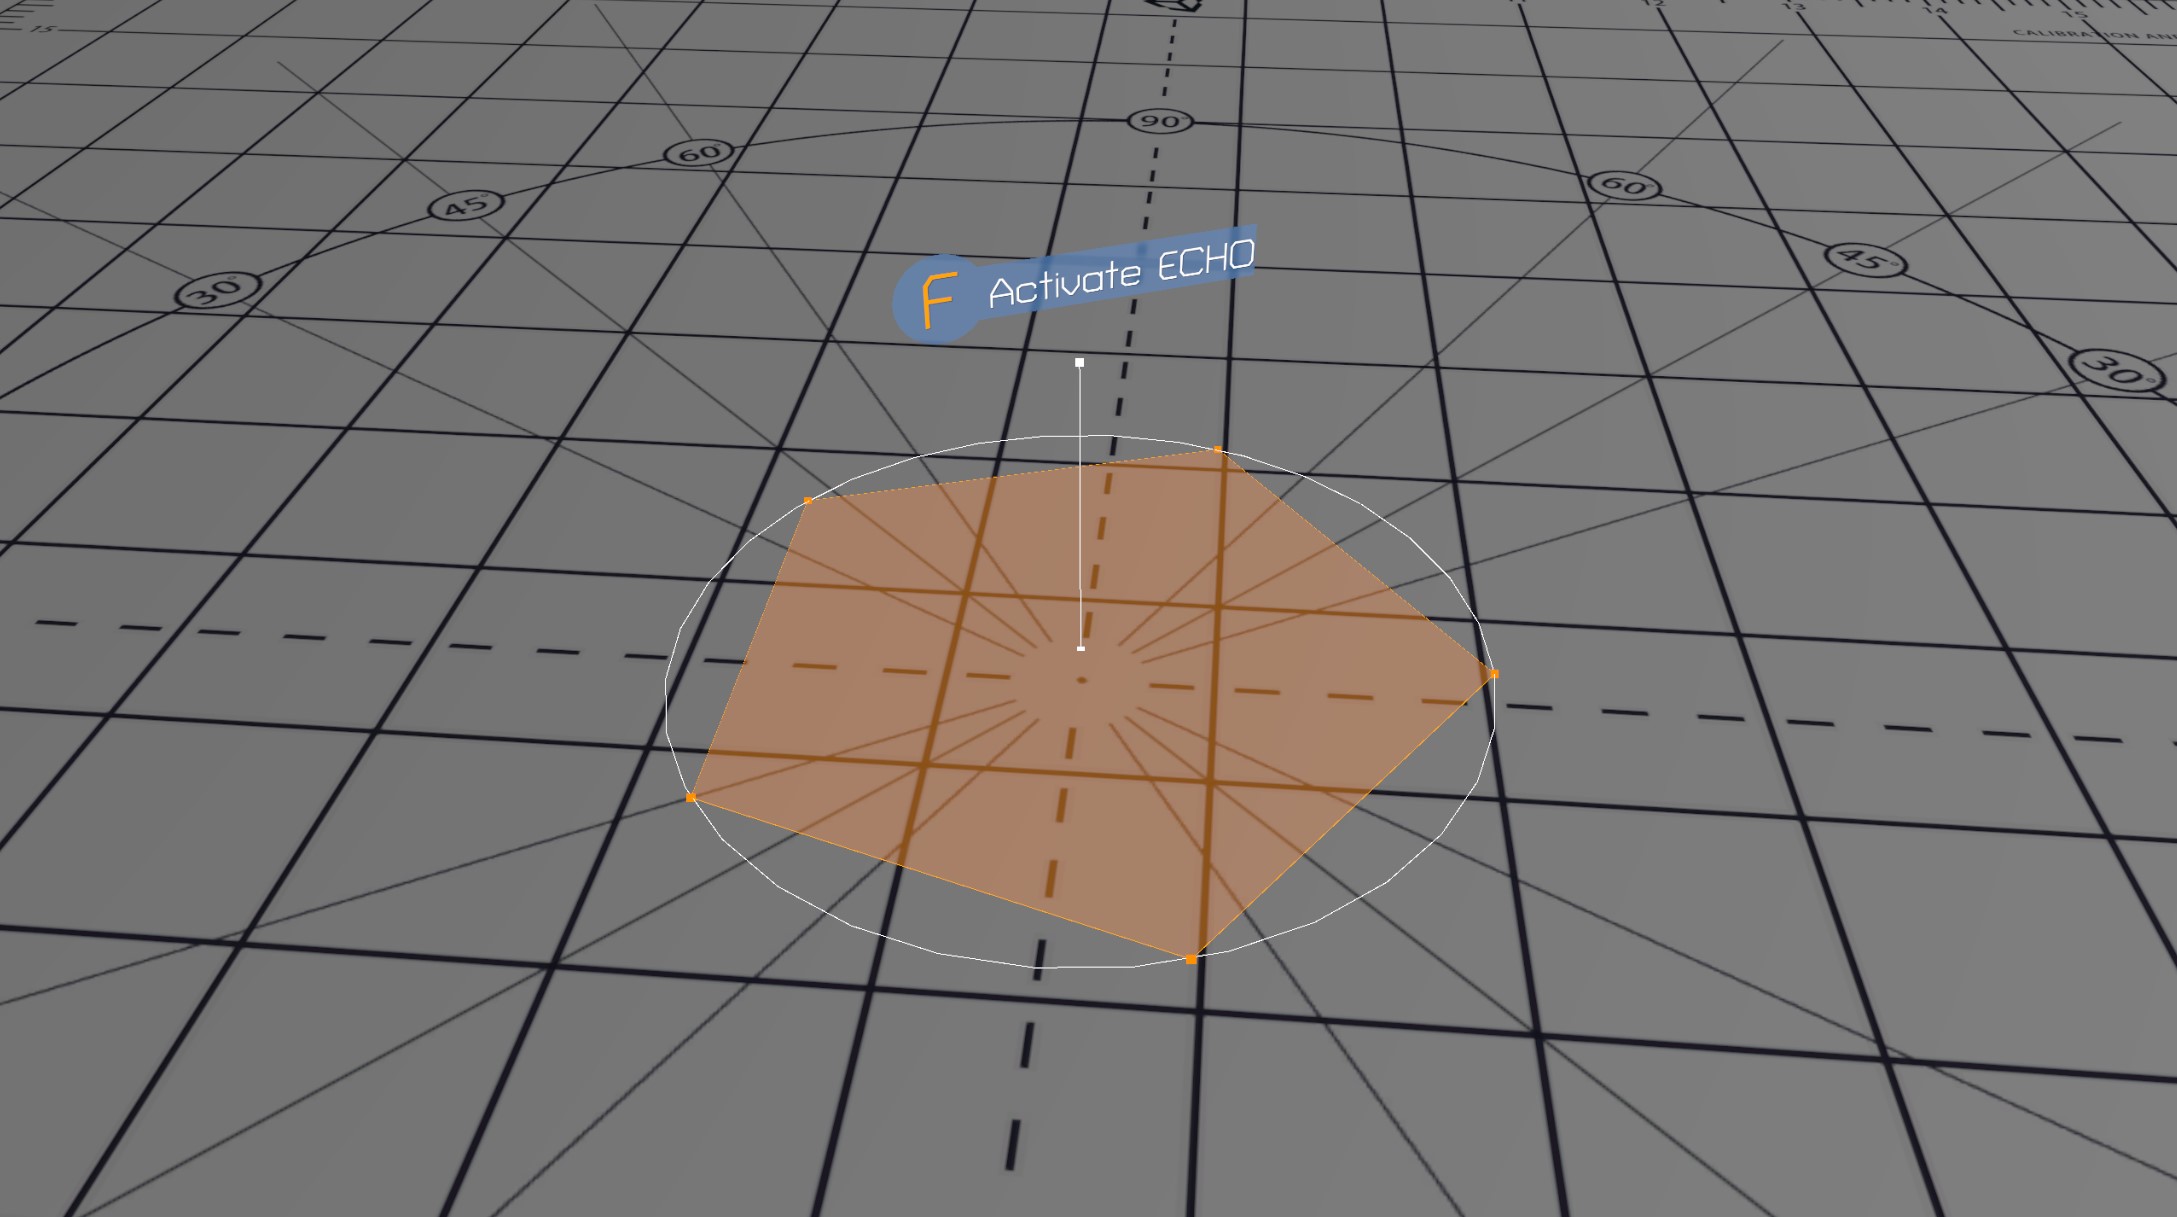
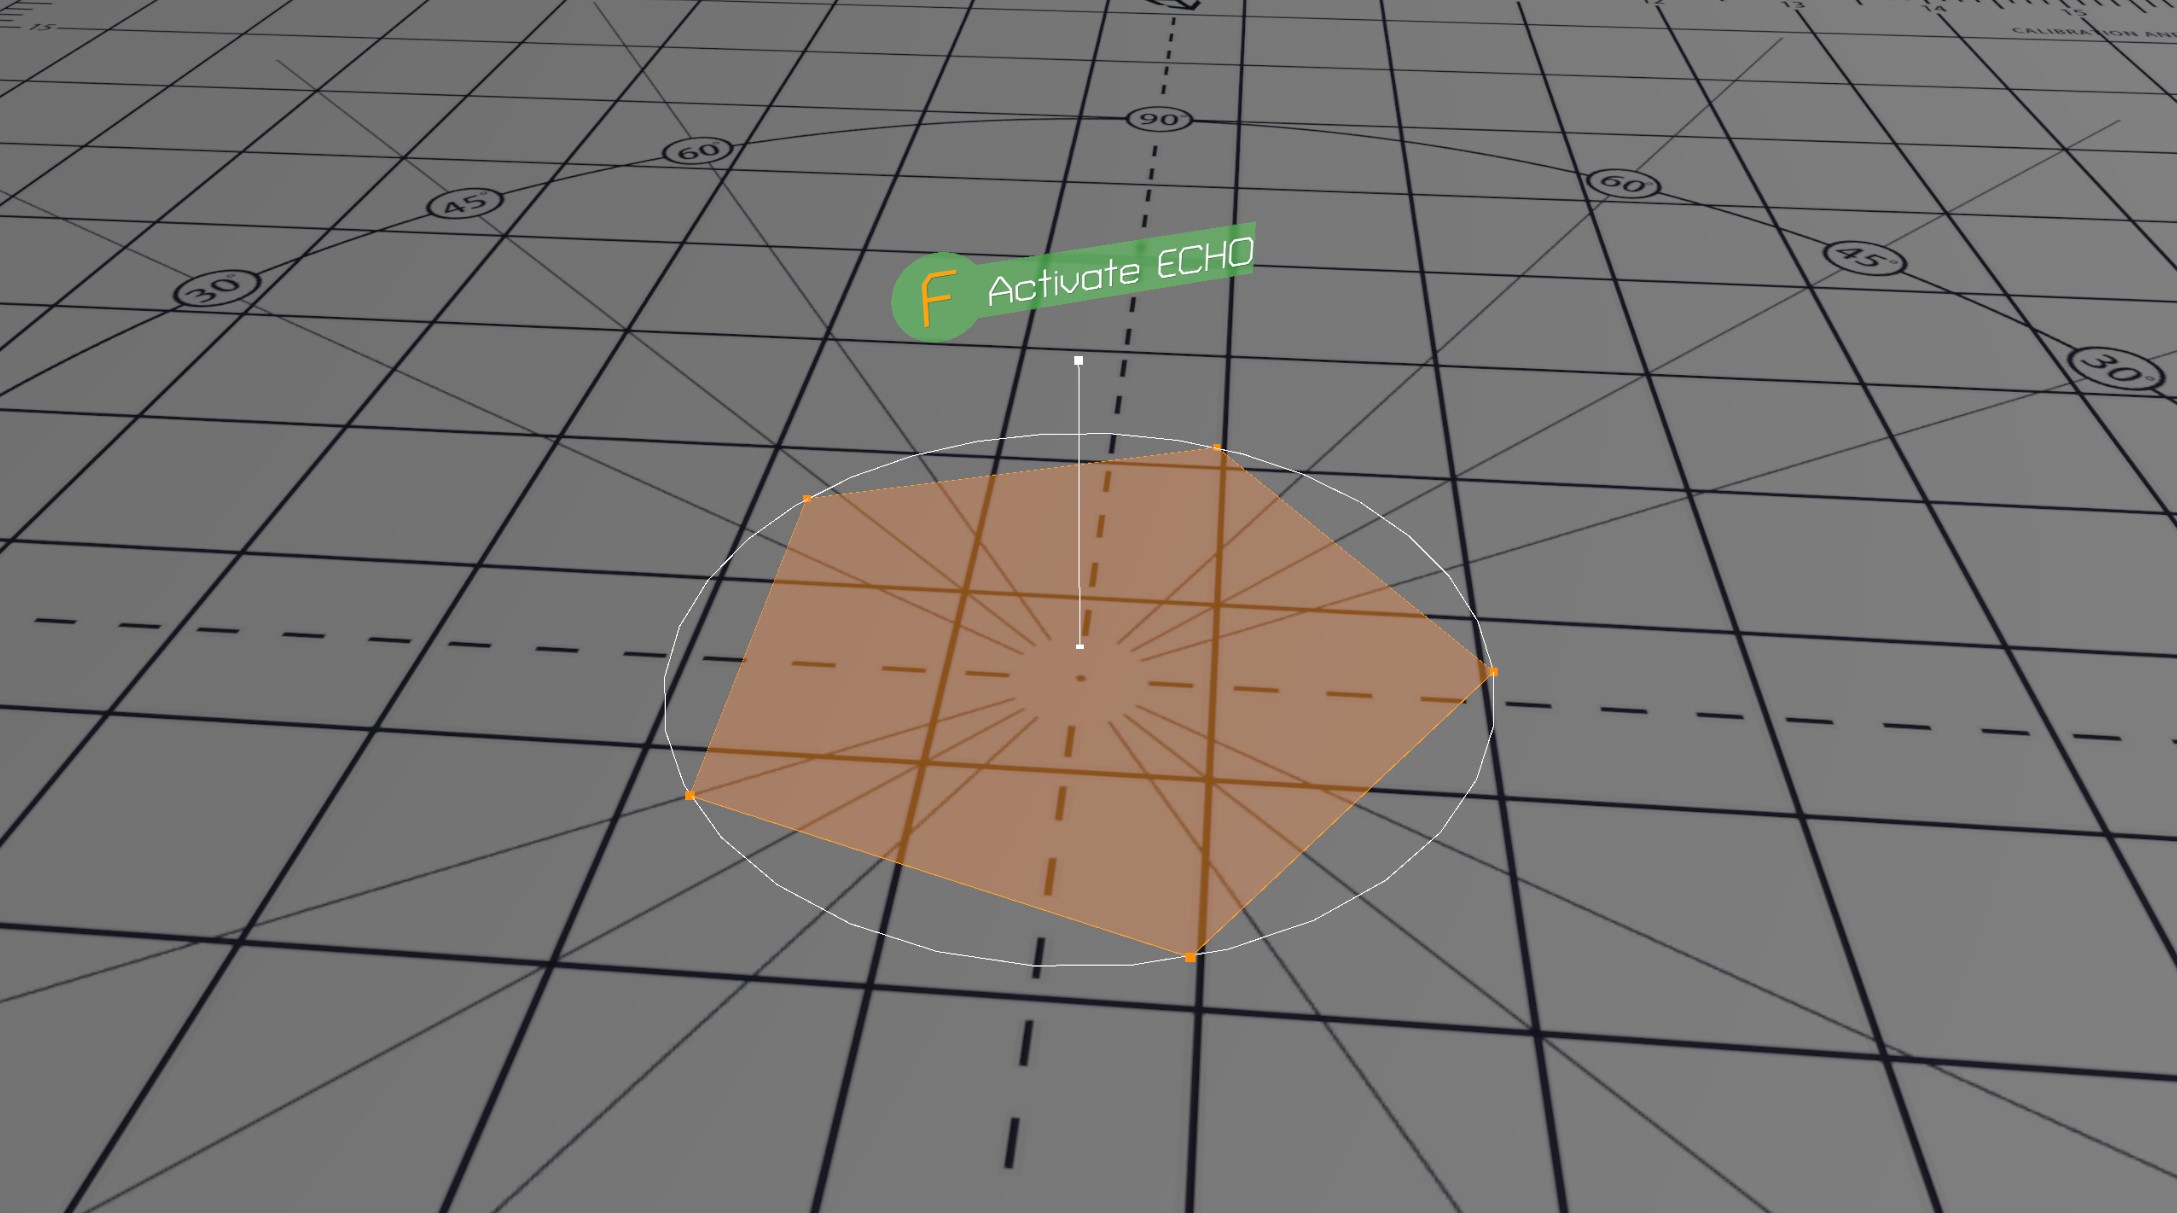
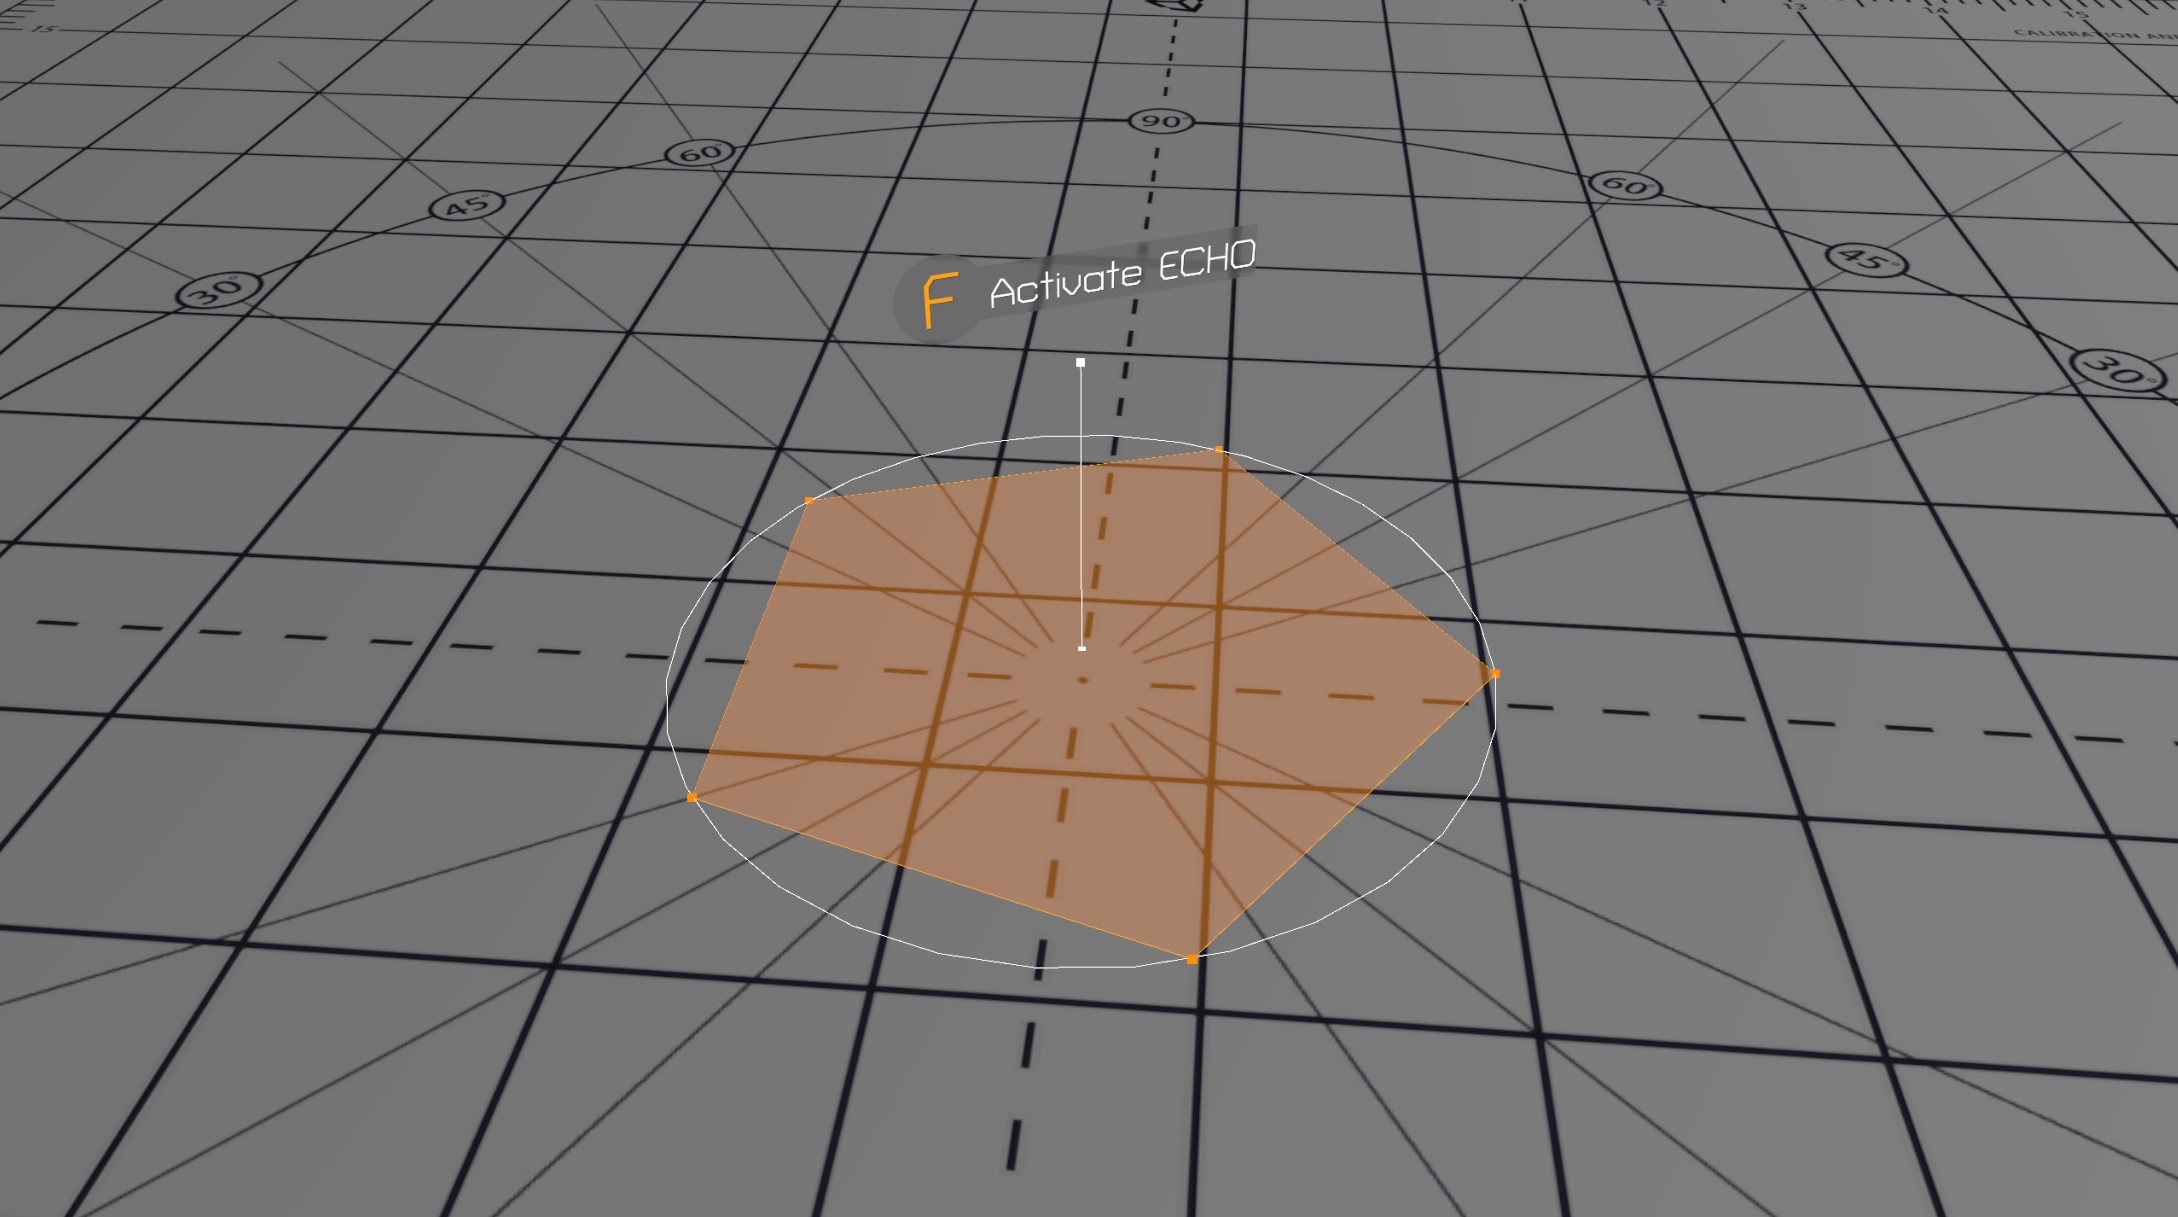
The important part for us is the world space canvas on top of the geometry displaying a background image and some text telling you to press f to activate the echo. Our goal is to adjust the “Shaders/Blur” shader to achieve the following effect:
There are some additional basic shaders used on the geometry, feel free to check them out if you are interested. The material used on the background image is called “BlurGrey” and can be found in the “Materials” folder, we can change the look of the blur there later.
If you open the blur shader, you’ll see that the basic setup in there is quite simple, we convert our vertex position to clip space in the vertex shader and return a simple grey for every fragment. You might however notice, that there is a second pass in there doing exactly the same, we’ll talk about the reasoning behind that in the next chapter.
Let’s get started!
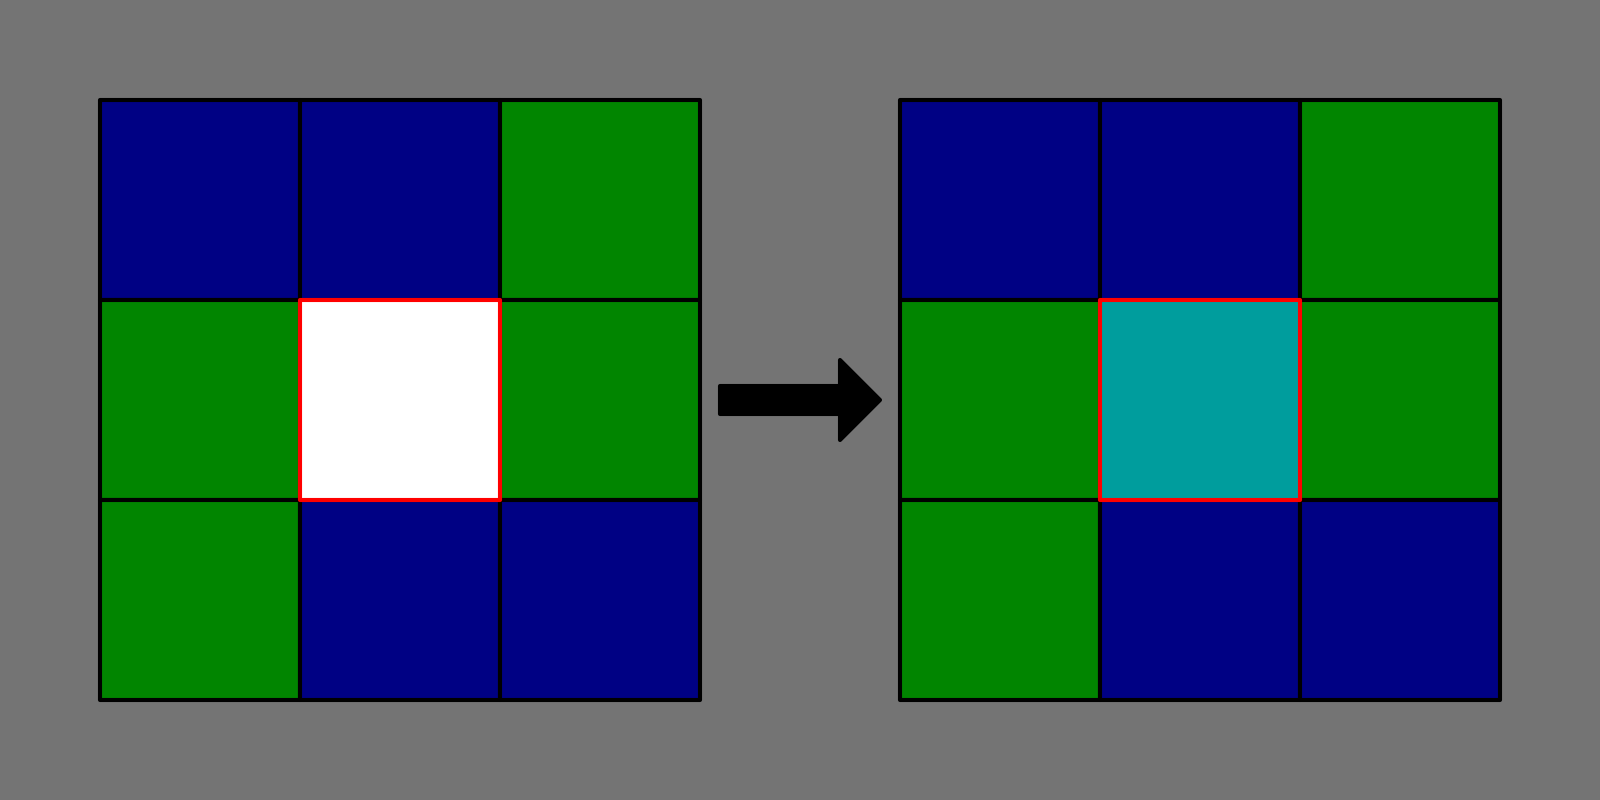
The basic idea behind blurring is really straight forward. For each pixel you change the colour to the average of itself and the eight surrounding ones.
We therefore must sample the scene image nine times. It sounds like quite a lot, and it is, we can however reduce the amount of time we have to sample the background texture by splitting the blur into two passes. In the first one we blur the whole image vertically, only adding the pixels above and below our current one to the result and dividing it by 3 instead of 9. In the second pass we do the same horizontally. Instead of 9 samples we therefore only need 6 in total, the result is the same.
One question left is how it’s possible to increase the blur strength. We do this by increasing the radius of the samples around our current pixel. If we average over samples from further away, the blur appears stronger. The higher the radius, the more we profit from splitting the blur into the vertical and horizontal pass. For a radius of two we end up with 2 x 5 = 10 samples instead of the 25 we would need without splitting the passes.
Let’s implement everything and see it in action.
Sampling a texture on the GPU takes quite some time (way longer than a simple calculation). The result needs to be requested and waited for before it can be used. GPUs hide this latency by doing other work while waiting for the result and picking up where they left once it’s ready. If you profile this shader, you’ll see that there is some overhead in a simple scene if there isn’t enough work for the GPU to perform while waiting. In a complex scene you’ll barely notice it.
First, we have to make sure that our blur shader is rendered after the opaque geometry. We can do this by setting the “Queue” tag to “Transparent”.
Tags{ "Queue" = "Transparent"}Let’s start with the vertical (first) pass. The horizontal one is similar with only minor changes. To sample the current screen, we need it as a texture. Unity provides the GrabPass{}, an additional pass we can add that stores the current screen in a texture for us to use afterwards. Let’s add one in front of our first pass.
GrabPass {}
Pass
{
    ...
In our pass we have to add a sampler2D called “_GrabTexture”, as well as a float2 called “_GrabTexture_TexelSize”. Those two variables will be filled with the result of the GrabPass by Unity. The Texel size can be used to move a single pixel into a specific direction, something we’ll need later.
sampler2D _GrabTexture;
float4 _GrabTexture_TexelSize;
While we are here, let’s add a property to the shader that let’s us change the radius of the blur from within unity.
Properties
{
    _Radius("Blur radius", Range(0, 20)) = 1
}
int _Radius;It is important that the type of the variable in our shader is int, we only want to increase our radius by full pixels, nothing in between.
To sample the background texture, we need the position of our fragment on the screen. We can easily calculate it in the vertex shader using the “ComputeScreenPos” helper function and let the rasterizer interpolate it for us to use it in the fragment shader later.
struct v2f
{
    float4 vertex : SV_POSITION;
    float4 screenPos : TEXCOORD0;
};
v2f vert(appdata v)
{
v2f o;
o.vertex = UnityObjectToClipPos(v.vertex);
o.screenPos = ComputeScreenPos(o.vertex);
return o;
}Since we must sample the same texture quite often in our code, the easiest way to achieve that is to define a macro. Since we want to use it in both of our passes, we have to define it in a HLSLINCLUDE block in our subshader.
SubShader
{
Tags{ "Queue" = "Transparent"}
HLSLINCLUDE
#define SampleGrabTexture(posX, posY) tex2Dproj( _GrabTexture, float4(i.screenPos.x + _GrabTexture_TexelSize.x * posX, i.screenPos.y + _GrabTexture_TexelSize.y * posY, i.screenPos.z, i.screenPos.w))
ENDHLSL
...Let’s look at the function in more detail. The compiler replaces all occurrences of “SampleGrabTexture(posX, posY)” with the tex2Dproj function behind it. So if we want to sample the texture one pixel to the left of the current fragment we would use “SampleGrabtexture(1,0)”. The tex2Dproj function samples the texture and accounts for the distortion due to the perspective camera. As parameters it takes the texture and the screen position as float4 (including z and w components which store the scene depth). By multiplying the position with the texel size we assure that a position of 1 moves us exactly one texel in the respective direction.
With that function ready we can move on to our fragment function where we start by sampling the current pixel.
half4 frag(v2f i) : SV_TARGET
{
half4 result = SampleGrabTexture(0, 0);
return half4(0.25f,0.25f,0.25f,1);
}To support a variable amount of additional, neighbouring texels we can use a for loop (just like in other programming languages).
half4 frag(v2f i) : SV_TARGET
{
half4 result = SampleGrabTexture(0, 0);
for (int range = 1; range <= _Radius; range++)
{
result += SampleGrabTexture(0, range);
result += SampleGrabTexture(0, -range);
}
return half4(0.25f,0.25f,0.25f,1);
}Afterwards we have to divide by the number of samples we took to normalize the result and return it.
half4 frag(v2f i) : SV_TARGET
{
half4 result = SampleGrabTexture(0, 0);
for (int range = 1; range <= _Radius; range++)
{
result += SampleGrabTexture(0, range);
result += SampleGrabTexture(0, -range);
}
result /= _Radius * 2 + 1;
return result;
}Alright, we are almost done with the basic blur. We now have to do everything we just did to the second pass, but instead of sampling above and below in our for loop, we sample left and right.
GrabPass {}
Pass
{
HLSLPROGRAM
#pragma vertex vert
#pragma fragment frag
#include "UnityCG.cginc"
struct appdata
{
float4 vertex : POSITION;
};
struct v2f
{
float4 vertex : SV_POSITION;
float4 screenPos : TEXCOORD0;
};
sampler2D _GrabTexture;
float4 _GrabTexture_TexelSize;
int _Radius;
v2f vert(appdata v)
{
    v2f o;
    o.vertex = UnityObjectToClipPos(v.vertex);
    o.screenPos = ComputeScreenPos(o.vertex);
    return o;
}
half4 frag(v2f i) : SV_TARGET
{
half4 result = SampleGrabTexture(0, 0);
for (int range = 1; range <= _Radius; range++)
{
result += SampleGrabTexture(range, 0);
result += SampleGrabTexture(-range, 0);
}
result /= _Radius * 2 + 1;
return result;
}
ENDHLSL
}If you set the materials blur radius to something higher than 1 in Unity, you should see how the background gets blurrier with increasing radius.
This chapter was quite a lot of code with lots of possible issues, if you run into any take a look at the final project on GitHub.
For the next chapters we only add some small improvements to the code, most of the work is already done!
If you look at the blurred UI image in Unity, you’ll see that it has a sprite assigned. Let’s adjust our shader so we can use the sprite as a mask to change the shape of our background blur. Every step in this chapter needs to be added to both of our passes individually.
The first thing we must do is access the sprite in our shader. In the case of UI shaders, Unity automatically places the sprite in the “_MainTex” variable.
sampler2D _MainTex;To sample the texture, we need the uv coordinates in our fragment function. We have to add them to our structs and pass them in the vertex function.
struct appdata
{
    float4 vertex : POSITION;
    float2 uv : TEXCOORD0;
};
struct v2f
{
float4 vertex : SV_POSITION;
float4 screenPos : TEXCOORD0;
float2 uv : TEXCOORD1;
};v2f vert(appdata v)
{
v2f o;
o.vertex = UnityObjectToClipPos(v.vertex);
o.screenPos = ComputeScreenPos(o.vertex);
o.uv = v.uv;
return o;
}The last step is to sample the texture, and if the alpha is below a specific threshold discard the current fragment.
half4 frag(v2f i) : SV_TARGET
{
    if (tex2D(_MainTex, i.uv).a < 0.5f)
        discard;
    ...
The result should now look like this:
The last thing missing is some colour. Since we blend the colour with the final result, we only have to do this in the second pass. Let’s start by adding a variable for it.
Properties
{
    _Radius("Blur radius", Range(0, 20)) = 1
    _Color("Color", COLOR) = (1,1,1,1)
}
float4 _Color;I am using basic alpha blending to blend the colour with the blurred background here, which results in an adjustable look that can easily be changed from within Unity.
return half4(_Color.a * _Color.rgb + (1 - _Color.a) * result.rgb, 1.0f);Depending on the colour you’re setting you can achieve some quite unique looks.
This shader should give you a solid base for your own custom UI shaders in the future to make your project look modern and professional.
Final ProjectIf you had any issues with the tutorial you should check out the final version on GitHub!
Get the tutorial project from GitHub - It contains all the assets necessary to achieve the final result!
Help me to create more amazing tutorials like this one by supporting me on Patreon!
Make sure to follow me on Twitter to be notified whenever a new tutorial is available.
If you have questions, want to leave some feedback or just want to chat, head over to the discord server! See you there!
Projects on this page are licensed under the MIT license. Check the included license files for details.

If you like the tutorials and want to support me, head over to Patreon to do so! You'll also get access to some amazing perks like special discord roles with priority support!
I'd like to get in touch and read what you think about the site.
Feedback is always appreciated!
Feel free to send me suggestions for future tutorials.
Questions and messages from patrons will be answered with a higher priority!